Current Page: Home > Mac Apps > Super Denoising > Sharpen Effects
Current Page: Home > Mac Apps > Super Denoising > Sharpen Effects
 |
 |
 |
 |
 |
| Strong Noise Fixing | Weak Noise Fixing | Portrait Beautify | Sharpen Effects | Jpeg Artifacts Fixing |
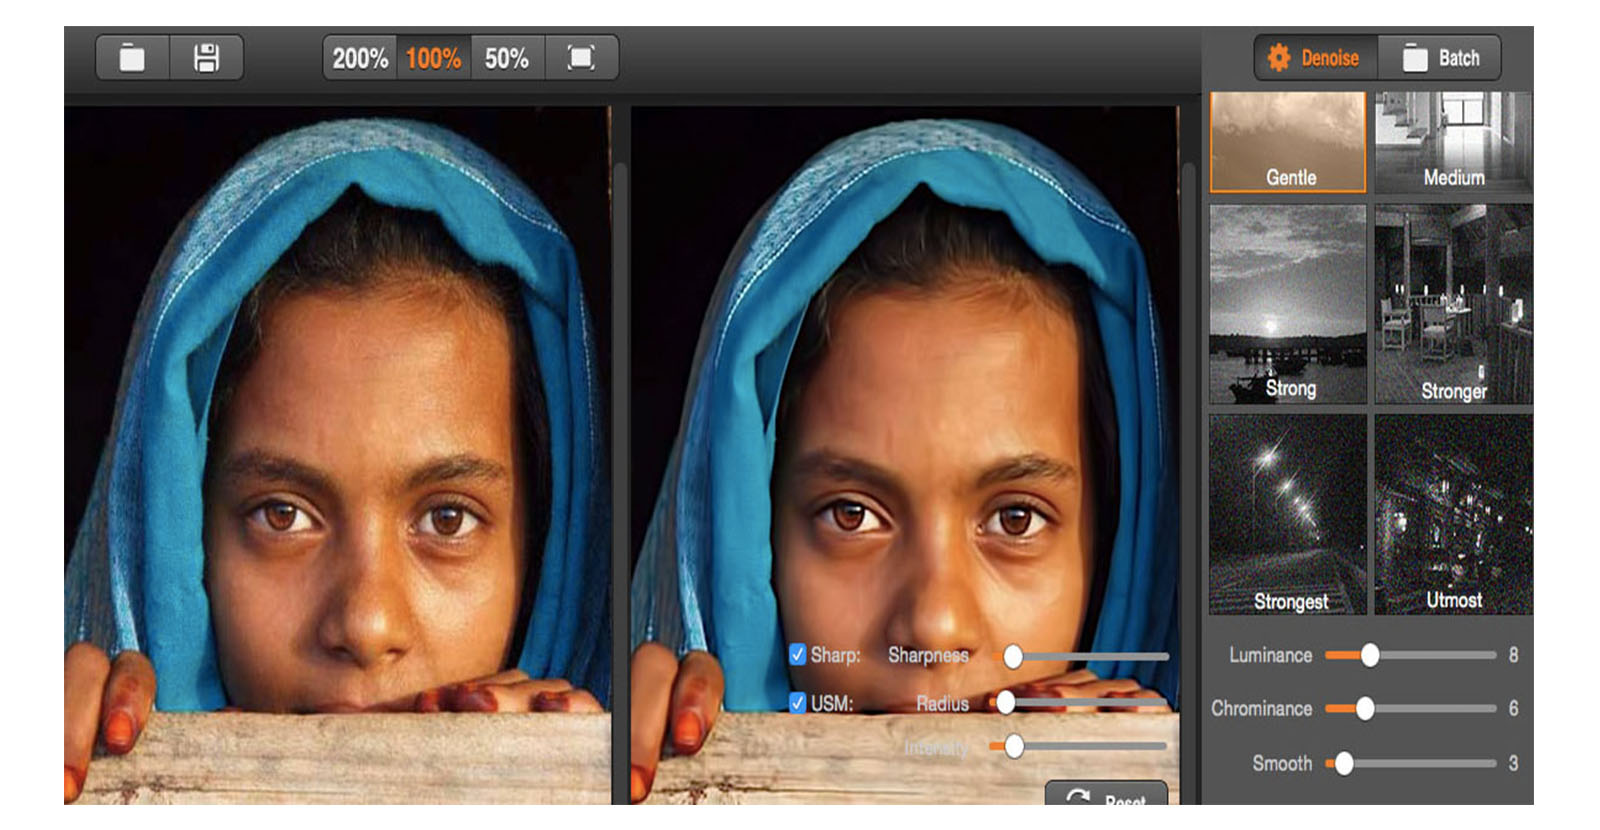
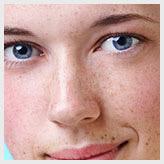
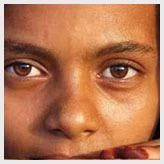
The original photo at the left appeared softer and less detailed. The photo at the right side recovered fine and sharp details.
Photo sharpening is very useful for emphasizing texture and drawing viewer focus. It's also required of any digital photo at some point — whether you're aware it's been applied or not. When performed too aggressively, unsightly sharpening artifacts may appear. On the other hand, when done correctly, sharpening can often improve apparent image quality.
Let’s take a look at how to achieve sharpen effects with Super Denosing for Mac:
Remember: One often has to sacrifice sharpening some of the really subtle details in exchange for not amplifying noise in the image.
Step 1: Choose the appropriate noise reduction level. It depends on the noise of your original photo.
Noise reduction should always be performed before sharpening, since sharpening will make noise removal less effective.
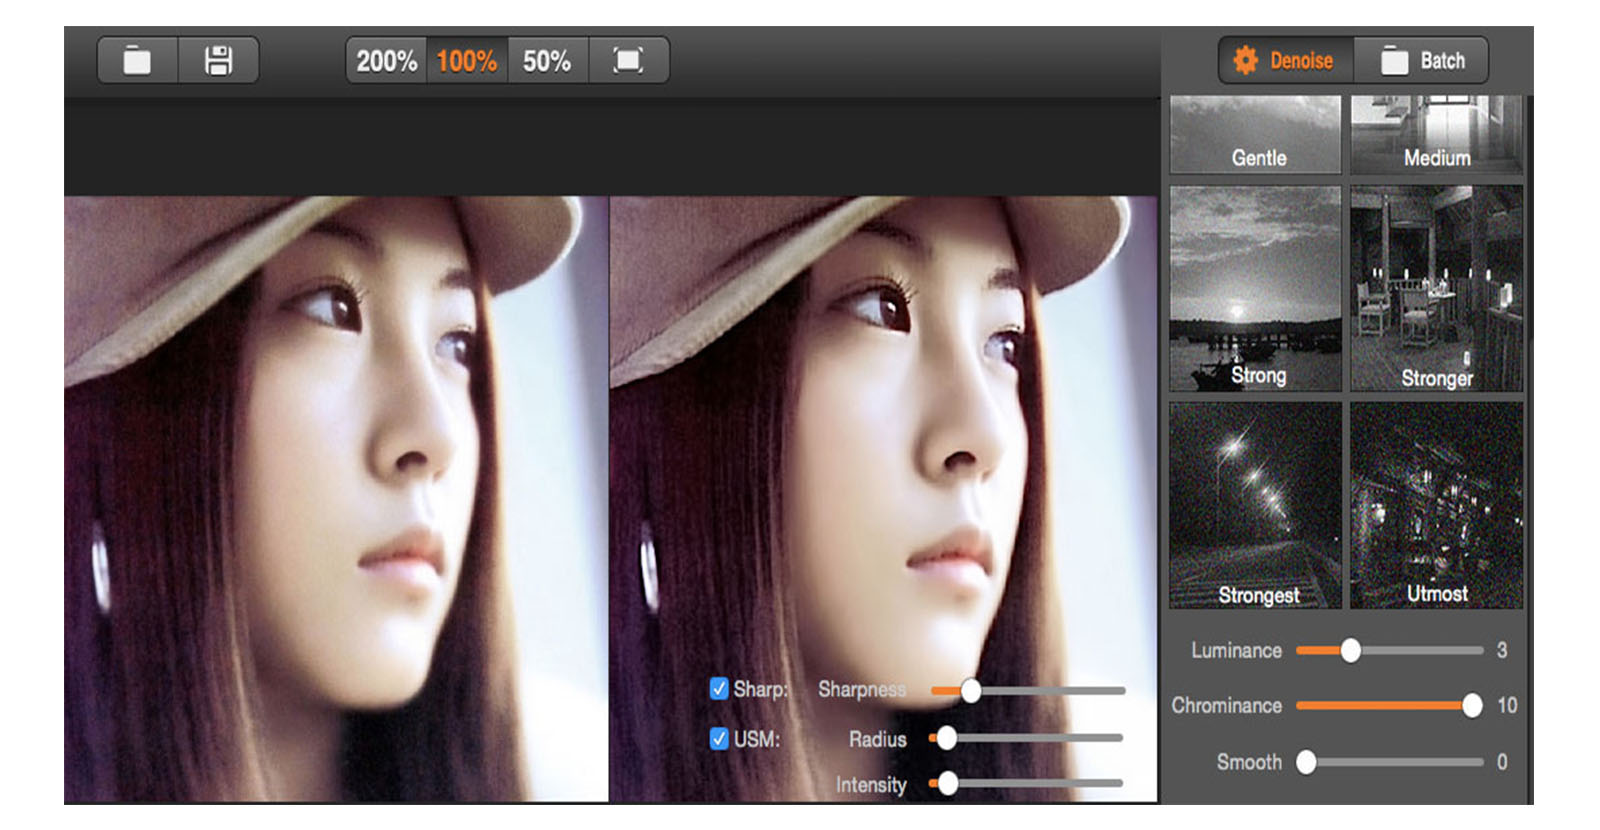
Step 2: Manual Sharpening
Sharpening settings are reasonably standardized. One can usually manually adjust following settings.
| Setting | Value | How It Works |
| Luminance | Default Amount | Light / dark fluctuations. Controls the minimum brightness change that will be sharpened. Adjust the value higher for brighter effects if necessary. |
| Chrominance | Default Amount | Color fluctuations. "Chroma" noise can render images unusable if not kept under control. |
| Smooth | Lower Amount | More Smooth value will make the photo lack of details. |
| Radius | Higher Amount | Controls the size of the edges you wish to enhance, where a smaller radius enhances smaller-scale detail. |
| Sharpness | Higher Amount | Controls the overall strength of the sharpening effect. The images have vastly different levels of fine detail, so their sharpening strategies will also need to differ. |
| Intensify | Lower Amount | This can be used to sharpen more pronounced edges. It's especially useful to avoid sharpening noise. |
Optimal results may require a few iterations.
Here is a quick and reliable strategy for adjusting the Sharpening:
1. It's generally advisable to first remove photo noise by selecting appropriate noise reduction level.
2. Then optimize the radius (sharpen using a radius value that is comparable to the size of the smallest details).
3. Then adjust sharpness setting.
4. Finally adjust other detail setting if necessary. The left at the slider is smallest and the right is the biggest amount.
Useful Technical Knowledge:
Sharpness depends on some factors that influence our perception of resolution and acutance. Image noise (or film grain) is usually detrimental to an image, however small amounts can actually increase the appearance of sharpness.
Sharpness also depends on viewing distance. Images which are designed to be viewed from farther away, such as posters or billboards, may have much lower resolution than fine art prints in a gallery, but yet both may be perceived as sharp because of your viewing distance. Keep this property in mind when sharpening your image, as the optimal type of your sharpening may not necessarily be what looks best on your screen.
Sharpness is also significantly affected by your camera technique. Even small amounts of camera shake can dramatically reduce the sharpness of an image.
Overall, Sharpening requires weighing the advantages of enhancing detail with the disadvantages of amplifying the appearance of image noise.
Super Denoising Quick Guide: Import an image; Pan, zoom, and scroll
Make adjustments (Luminance, Chrominance, Sharpness)


